


Best first material
Easy to print, stiff and ideal for models and prototypes.
Open material guide →3D Printing Made Simple
Learn the basics, identify visible defects and work through practical fixes without getting lost in technical jargon.
Clear starting points · Safe checks first · Settings you can adapt
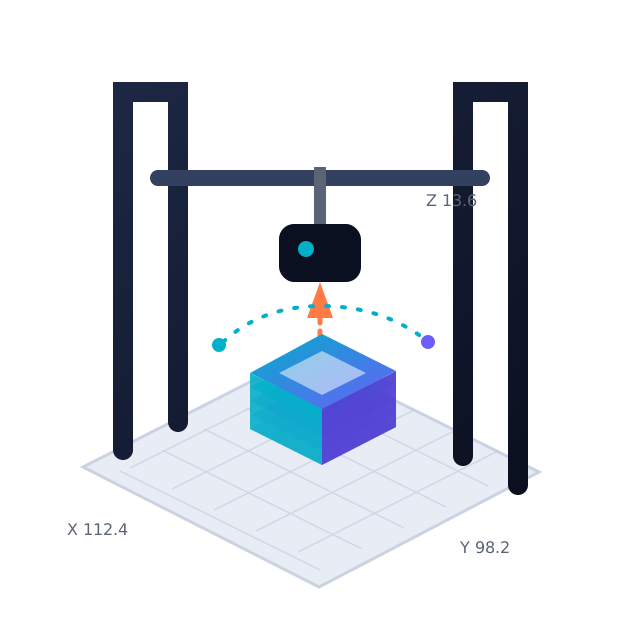
Visual diagnosis
Pick the closest-looking symptom. Each guide starts with quick checks before moving to calibration or hardware.
Your first successful print
Follow the sequence once, then return to the exact step that needs attention.
Check the frame, belts and moving parts.
Set a consistent nozzle-to-bed gap.
Feed dry filament through a clean nozzle.
Choose a safe profile for your printer.
Watch the full first layer go down.
Change one variable before trying again.
Materials without the mystery
These are starting ranges. Your printer, nozzle, filament and room temperature can move the right value.
Easy to print, stiff and ideal for models and prototypes.
Open material guide →Tougher and more heat resistant, but more prone to stringing.
Open material guide →Flexible and impact resistant; print slowly with a controlled path.
Open material guide →Strong and heat resistant; enclosure and ventilation are important.
Open material guide →Slicer essentials
A reliable profile is a baseline, not a promise. Start inside a safe range, test a small model and adjust one variable at a time.
| Setting | PLA | PETG | What changes it |
|---|---|---|---|
| Nozzle | 205 °C | 235 °C | Brand, speed, hotend |
| Bed | 55 °C | 75 °C | Plate and room |
| Layer height | 0.20 mm | 0.20 mm | Nozzle and detail |
| Print speed | 45–60 mm/s | 35–50 mm/s | Motion system |
Keep learning

Loose belts cause layer shifts and ringing near corners; overtight belts wear bearings and make motors skip. How to test…

Prusa’s INDX toolchanger for the CORE One and CORE One+ is shipping in volume, with automatic tool calibration, a redesigned…

A filament tangle happens on the spool itself, not at the extruder, when one loop of filament slips under another…
Safety before troubleshooting
Nozzle cleaning, belt checks and electronics require different precautions. Every maintenance guide clearly marks hot surfaces, moving parts and tasks that belong with a qualified technician.
Your next print can be better
The troubleshooting hub narrows the library by print stage, material and the action you are comfortable taking.